Most people admire a beautiful piece of jewellery without ever thinking about how it came to exist. The journey from raw material to finished accessory is a fascinating mix of ancient craftsmanship and modern manufacturing technology. Understanding the process gives you a deeper appreciation for what you wear — and helps you recognise quality when you see it.
Step 1: Design and Prototyping
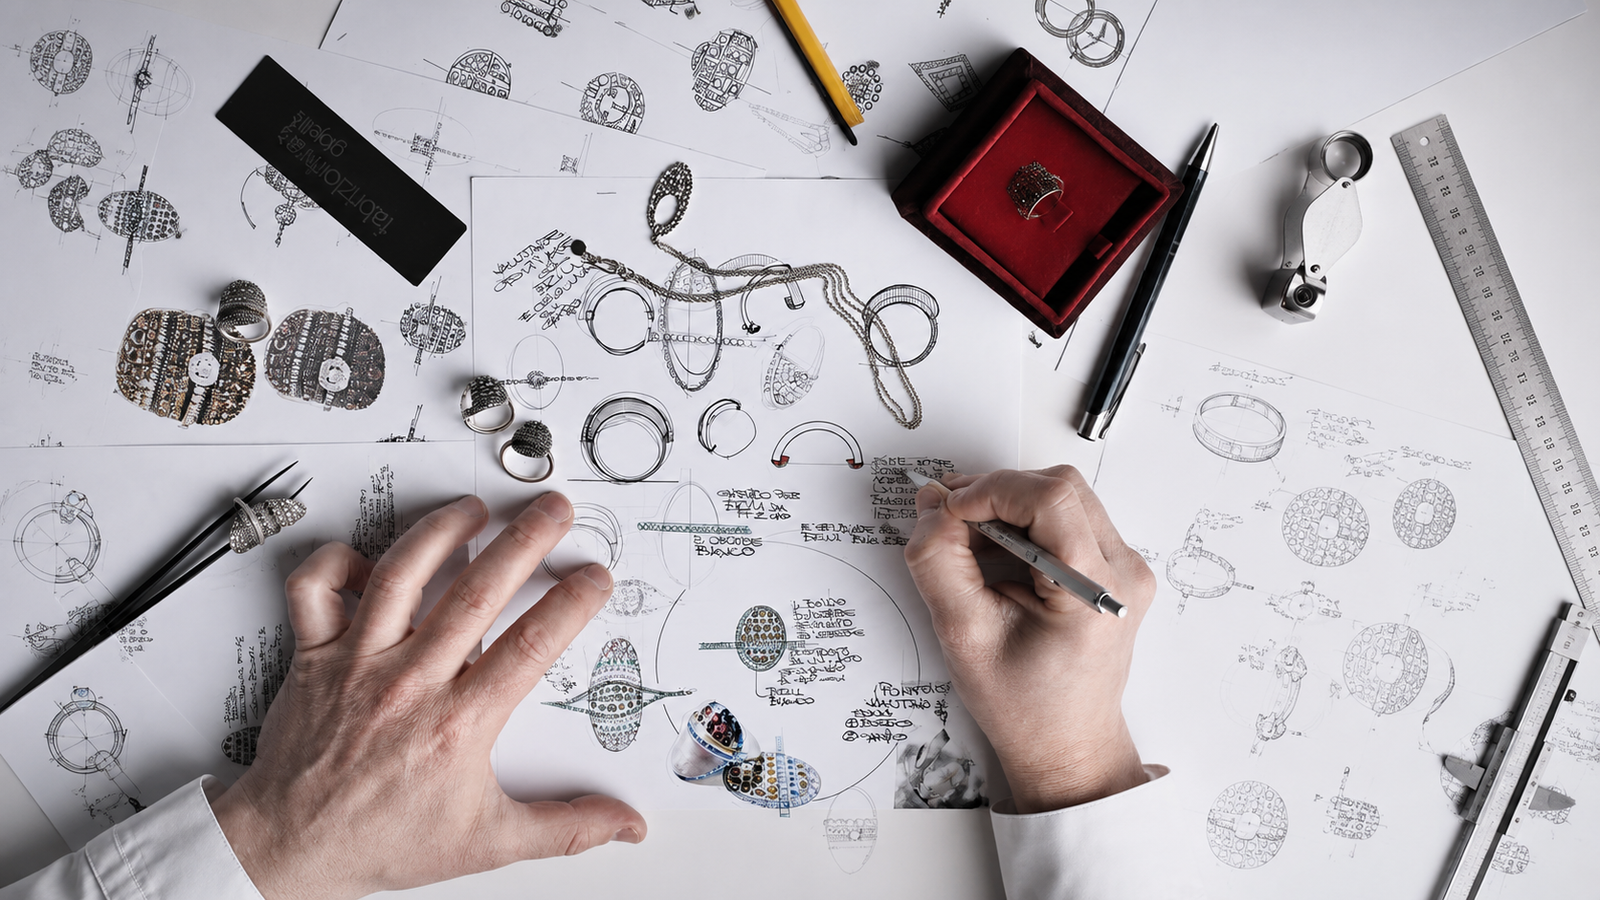
Every piece starts as a design. Modern jewellery designers work in CAD software (Computer-Aided Design) to create precise 3D models before any metal is touched. These digital files allow designers to visualise proportions, test fit, and make adjustments without expensive material waste. A 3D-printed resin prototype is usually created from the CAD file for physical review before production begins.
Step 2: Casting
Lost-wax casting (also called investment casting) is the most common method for producing shaped jewellery pieces. A wax model of the design is created — either hand-carved or 3D-printed. This wax model is coated in a plaster-like investment material and heated in a kiln. The wax melts away (hence “lost wax”), leaving a perfect cavity. Molten metal is then poured or injected into the cavity. Once cooled, the investment is broken away to reveal the raw casting. This method can produce highly detailed, complex shapes repeatedly and consistently.
Step 3: Stamping and Die-Cutting
For simpler, flatter pieces — chain links, earring backs, ring bands — stamping is more efficient than casting. Sheet metal is fed through a die press that cuts and shapes pieces at high speed. Stamped components have a cleaner, more uniform finish than cast pieces and are typically used for high-volume production of standardised components like chain links and clasps.
Step 4: Assembly and Soldering
Cast and stamped components are assembled by hand or with semi-automated jigs. Soldering — joining metal components with a metal alloy filler at high temperature — bonds the pieces together permanently. Chain necklaces, for example, require individual links to be soldered closed. Clasps, jump rings, and pendant bails are all attached at this stage.
Step 5: Finishing and Polishing
Raw castings are rough and dull. The finishing process transforms them. Tumble polishing — placing pieces in a rotating barrel with abrasive media — smooths surfaces and removes casting marks. Hand polishing with progressively finer compounds then brings the metal to a mirror shine or the desired texture finish (brushed, matte, hammered). This stage determines the final visual quality of the piece more than any other.
Step 6: Electroplating
Electroplating is how the gold, silver, or rose gold finish is applied to fashion jewellery. The polished base metal piece is submerged in a plating bath — a solution containing dissolved gold, silver, or rhodium — and an electric current causes metal ions to bond to the surface. The thickness of the plating is controlled by current strength and immersion time. 18K gold plating at 1–2 microns thickness is the industry standard for premium fashion jewellery.
Step 7: Stone Setting
Gemstones and crystals are set by hand or machine after plating. Prong setting uses small metal claws to grip the stone. Bezel setting wraps a metal rim around the stone’s circumference. Pavé setting uses tiny beads or prongs to set multiple small stones flush across a surface. For fashion jewellery, cubic zirconia crystals are the most common stone — optically identical to diamonds at a fraction of the cost.
Step 8: Quality Control and Packaging
Every finished piece is inspected for plating consistency, stone security, clasp function, and surface defects before packaging. At Zivanno, our quality control process checks each piece against our finish and durability standards before it is approved for sale.